Ecommerce Product Photography: A Practical Shot List
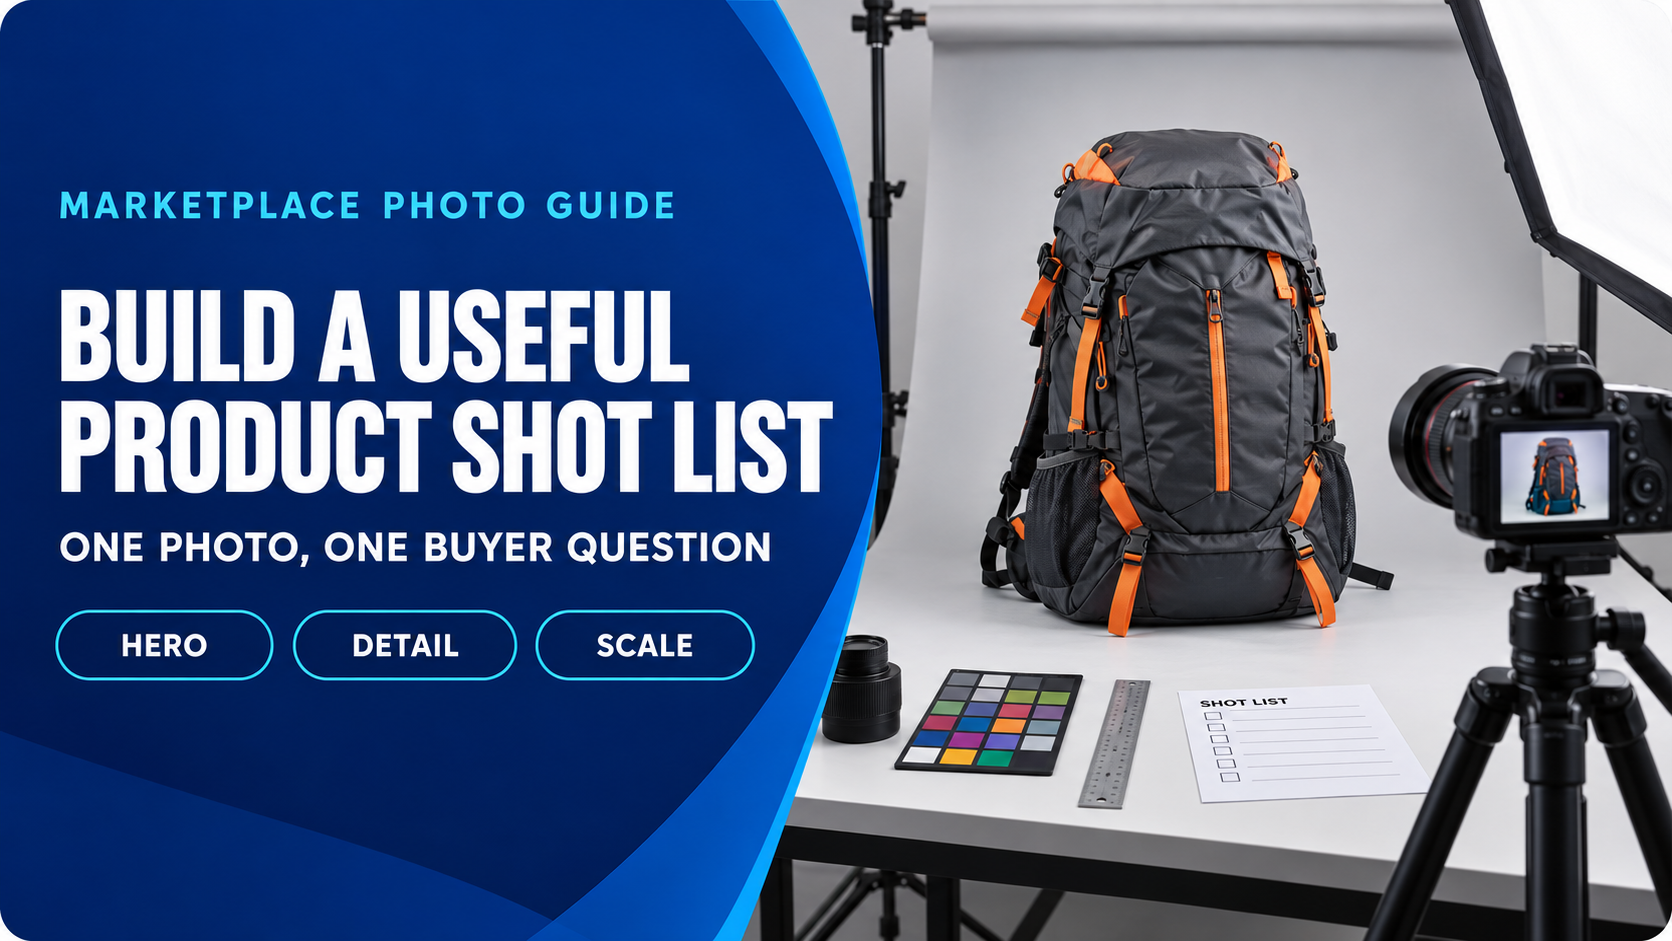
Ecommerce product photography works best when every image answers a different buyer question. Start with an accurate hero image, then add only the angles, details, scale references, contents, condition evidence, or use context that the buyer still needs. A planned shot list prevents attractive but repetitive photos from crowding out useful proof.
You do not need the same number of images for every product. A sealed commodity, a used camera, a flat-pack shelf, and a multi-piece bundle create different questions. Build the set from the offer and the destination marketplace, not from a universal image quota.
Give every product photo one job
| Photo job | Buyer question | What the frame must prove |
|---|---|---|
| Hero | What exactly is being sold? | The whole product or complete offer, centered, sharp, unobstructed, and easy to recognize at thumbnail size. |
| Alternate angle | What do the sides, back, top, or underside look like? | Shape, ports, closures, seams, controls, and construction hidden from the hero view. |
| Identity detail | Is this the exact model, size, or version? | A readable label, model number, size tag, connector, or packaging identifier without exposing private data. |
| Material and finish | What will the surface feel or look like? | Texture, grain, stitching, coating, edge quality, and color under neutral light. |
| Scale | How large is it in real life? | Dimensions, a ruler, an in-hand view, or another honest reference that does not distort size. |
| Included parts | What arrives in the package? | Every included component arranged clearly; no prop that could be mistaken for part of the offer. |
| Condition evidence | Where are the flaws or signs of use? | Scratches, wear, stains, dents, missing pieces, damaged packaging, or repaired areas in focus. |
| Use context | How does it fit, work, or sit in a real setting? | A truthful secondary scene that adds scale or function without replacing the compliant main image. |
The matrix is intentionally longer than many final galleries. Select the rows that resolve real uncertainty for the exact SKU. For a simple new phone case, hero, alternate angle, lid detail, scale, and included-parts views may be enough. A used camera may also need the powered-on state, ports, serial/model label, sensor or mount, accessories, packaging, and every flaw.
Build the shot list before setting up the camera
- Define the exact offer. Write down the SKU, variant, quantity, condition, and included parts.
- List buyer uncertainties. Ask what cannot be proven by the title, dimensions, or description alone.
- Assign one photo job to each uncertainty. Combine jobs only when the frame remains clear.
- Add channel-specific requirements. Mark which image is the main image for each marketplace and which secondary frames are permitted.
- Sequence the shoot. Capture clean angles before opening packaging, assembling parts, adding water, wearing apparel, or changing the item’s state.
This order reduces reshoots. It also protects continuity: the front, back, close-up, condition, and contents images should all depict the same physical item or the same authorized new-inventory version.
Use a simple, repeatable photo setup
A current smartphone can produce useful listing images when the setup controls movement, light, background, and color.
- Stabilize the camera. Use a tripod or fixed support, clean the lens, and use the rear camera.
- Diffuse the light. Place the setup near a large window or use soft continuous lights. Avoid mixed color temperatures and hard direct flash.
- Create a sweep. Curve white or neutral paper behind the product so the background has no horizon line.
- Lock consistency. Keep camera height, distance, white balance, and exposure stable across similar SKUs.
- Leave cropping room. Fill the frame without cutting off the item, and preserve enough clean edge space for channel-specific crops.
Amazon’s public photography guide notes that a smartphone can be sufficient and recommends a white background, stable support, accurate light, and marketplace-specific checks. eBay’s current photo guidance likewise emphasizes sharp images, uncluttered backgrounds, truthful variants, several angles, and close-ups of wear.

Shoot one honest main image first
The main image has a different job from an editorial or lifestyle frame: identify the offer immediately. Photograph the actual product or authorized new-inventory representation, remove distractions, show the correct variant, and avoid adding words, badges, watermarks, or accessories that are not included.
Channel rules differ. Amazon’s public product photography guidance says every product needs at least one image, recommends images larger than 1,000 pixels on each side for zoom, and identifies a white background as the default main-image setup. eBay currently requires at least 500 × 500 pixels and recommends 1,600 × 1,600; use the current eBay photo requirements checklist for the full rule lookup. Walmart sellers should check the current image policy and category requirements inside the applicable US item-setup workflow rather than borrowing a rule from another marketplace.
Do not turn these examples into a single cross-platform specification. Save a clean high-resolution master, then export versions for the current channel requirements.
Photograph facts that affect the listing fields
Useful product photos are also evidence for accurate listing data. Capture the facts you will need when writing the title, category, condition, item specifics, key features, and description.
| Evidence to capture | Listing fields it can support | QA question |
|---|---|---|
| Model or size label | Title, variant, model, size, compatibility | Is the text readable and does it belong to this exact item? |
| Measured dimensions | Item dimensions, fit, package planning | Is the ruler aligned with the correct edge and unit? |
| Material detail | Material, finish, color, texture | Does neutral light represent the color without a filter? |
| All included pieces | Package contents, quantity, bundle description | Could a buyer mistake a prop or duplicate for an included item? |
| Wear or defect close-up | Condition, description, buyer expectations | Is the flaw visible in context as well as close-up? |
For used goods, condition evidence is not an optional decoration. Show the defect clearly and describe it in words. For new products, avoid opening or altering inventory merely to produce a lifestyle shot unless the item can still be sold under the promised condition.

Edit for clarity, not reinvention
Crop, straighten, correct exposure, and remove dust or background distractions only when the result still represents the item accurately. Do not edit away damage, change the product color, add accessories, fabricate packaging, or create a feature the product does not have.
Generated backgrounds can be useful as secondary context on channels that permit them, but they should not become the only evidence of the product. Keep the original source photos, inspect edges and reflections, and verify that every product detail remains consistent across the set.
Turn verified photos into a reviewable listing draft
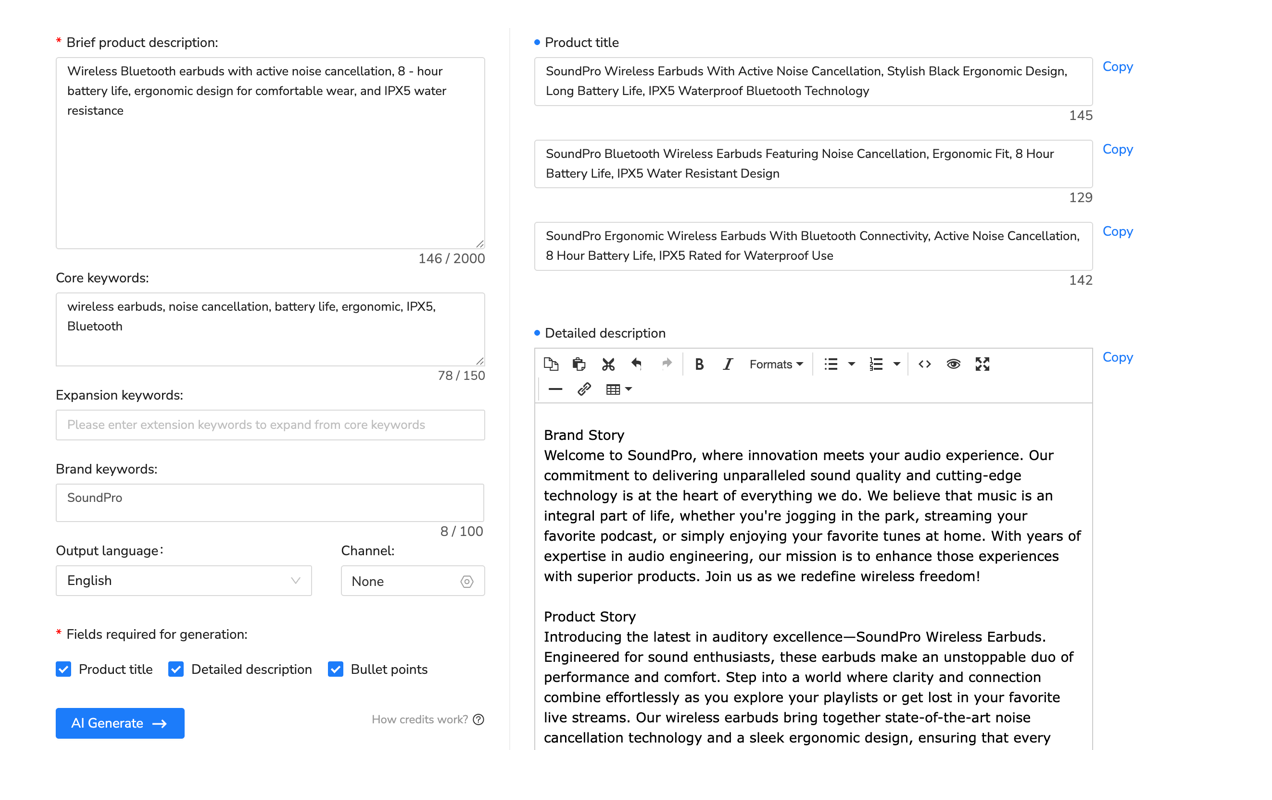
For eBay, Maxmerce can turn verified product photos and details into an editable listing draft. The seller still needs to review the category, condition, item specifics, price, shipping, policy compliance, and final publication. For Walmart, the verified Maxmerce workflow covers drafting titles, descriptions, bullet points, and attributes from listing content; it should not be described as photo-to-listing or automatic image validation.
Ecommerce product photography FAQ
How many product photos should an ecommerce listing have?
Use enough images to answer the buyer’s important questions without repetition. The right count depends on the product, condition, included parts, and channel limits. Start with photo jobs rather than a fixed quota.
Can I take product photos with a phone?
Yes. Use the rear camera, clean the lens, stabilize the phone, diffuse the light, lock focus and exposure, and inspect the image at full size before uploading.
Should every product photo have a white background?
The main image often has the strictest background rules, while secondary images may allow context. Check the current policy for the exact marketplace and category. Keep a clean white-background master even when you also shoot lifestyle frames.
What photos matter most for a used product?
Show the complete item, all sides, identity labels, included parts, powered-on state when relevant, and every material flaw. Pair close-ups with a wider frame so buyers understand location and scale.
Can AI create missing product angles?
Do not treat an invented angle as evidence of a real item’s construction, label, condition, or included parts. Use real source photos for factual coverage; use generated secondary context only when the channel permits it and the product remains accurate.
How should I name and store the files?
Use a stable SKU plus the photo job, such as SKU123-hero, SKU123-label, or SKU123-flaw-left. Keep the high-resolution master, the channel export, and the shot checklist together so future revisions use the same product evidence.
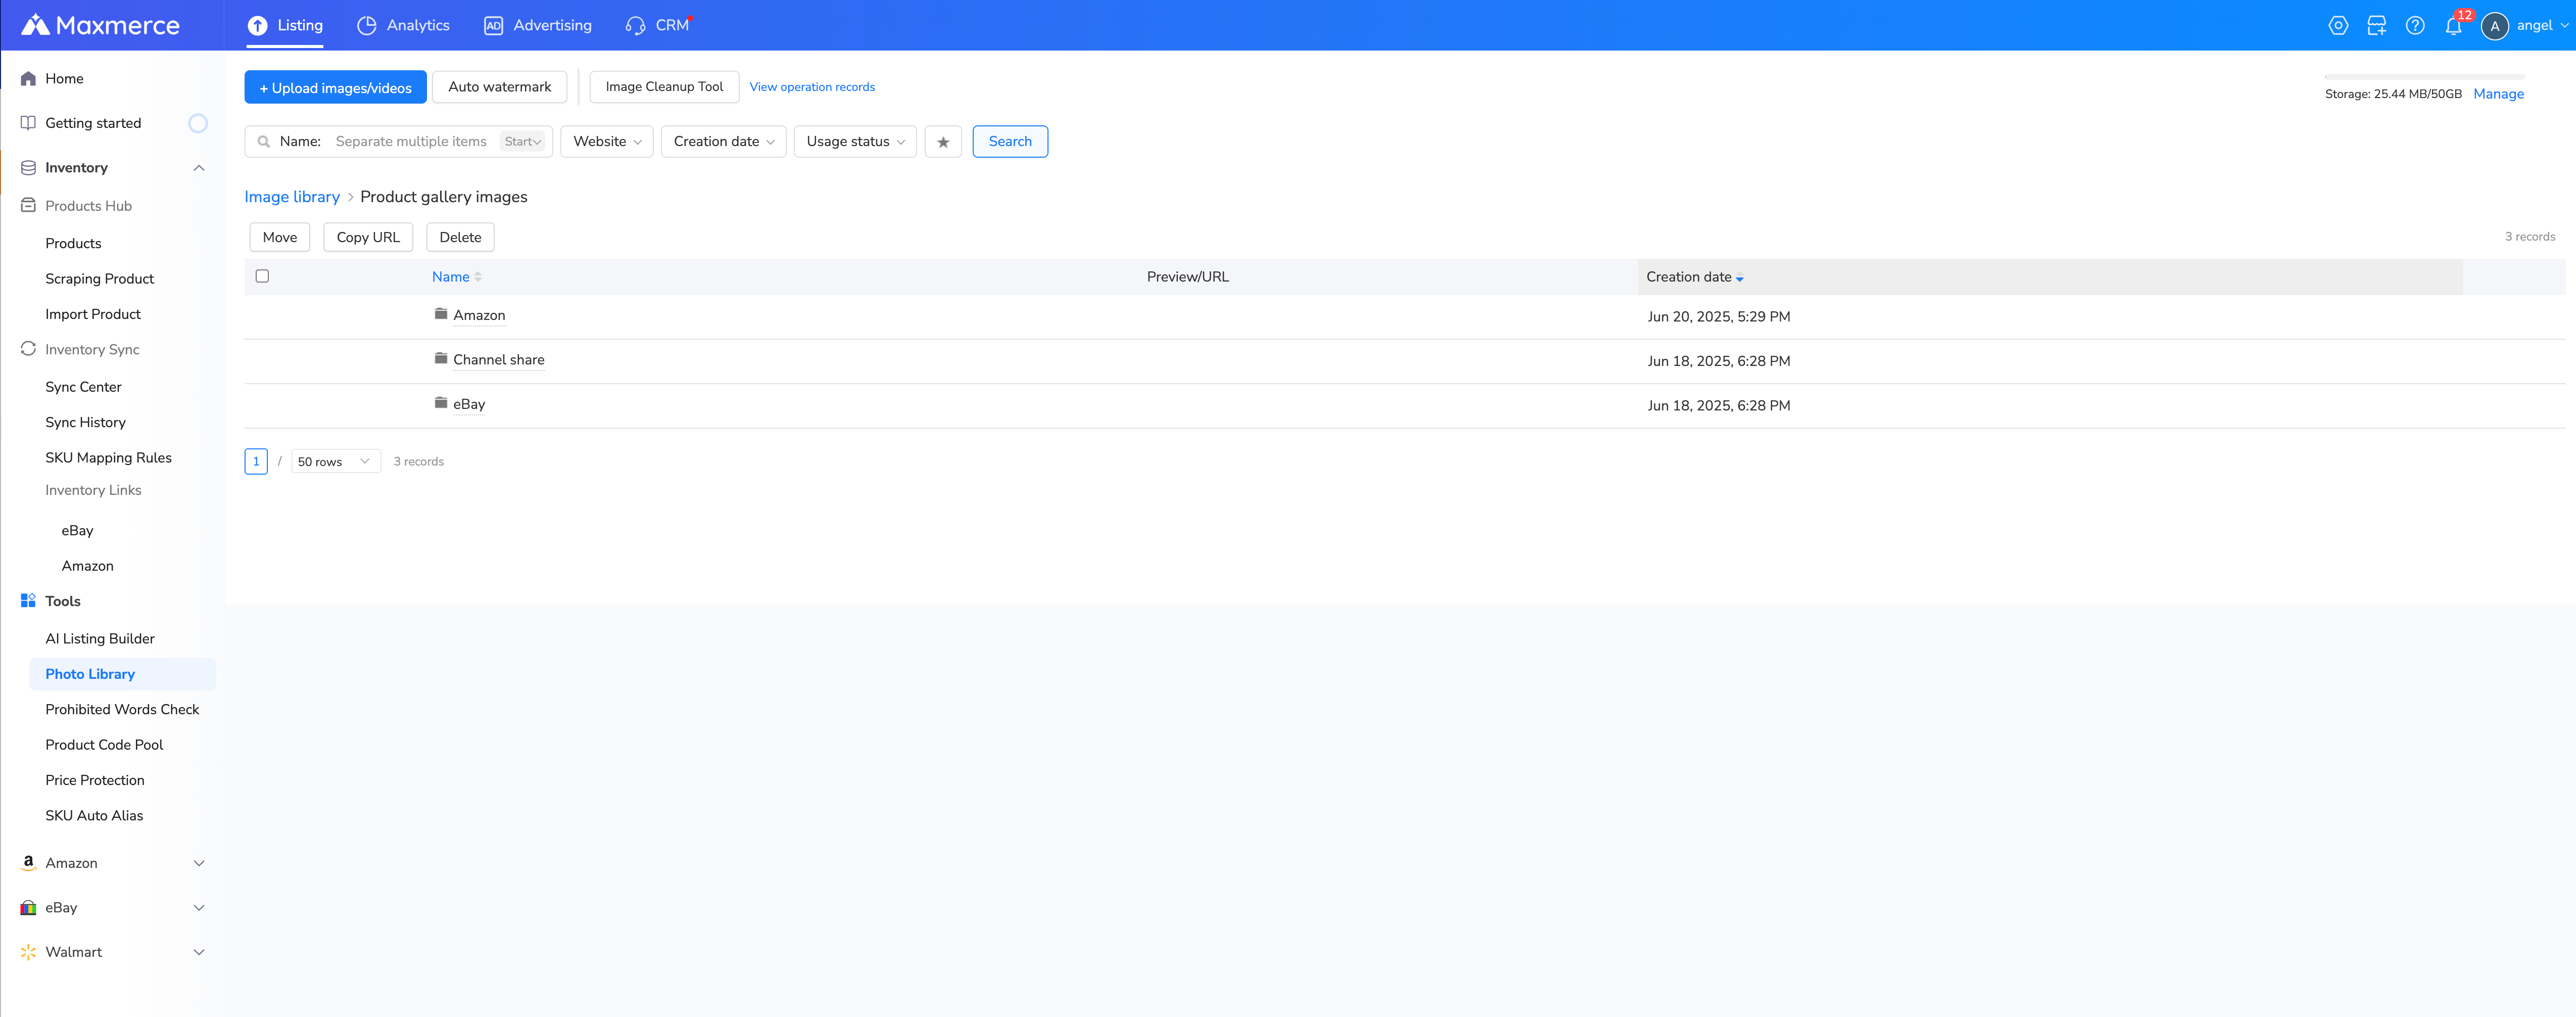
If your team uses the Maxmerce Photo Library, keep the image folder name identical to the product SKU for automatic matching. Store reusable images in Channel share and platform-specific versions in the applicable eBay or Amazon folder; verify the match before listing.