How to Photograph Clothes for eBay: Setup & Reshoot Guide
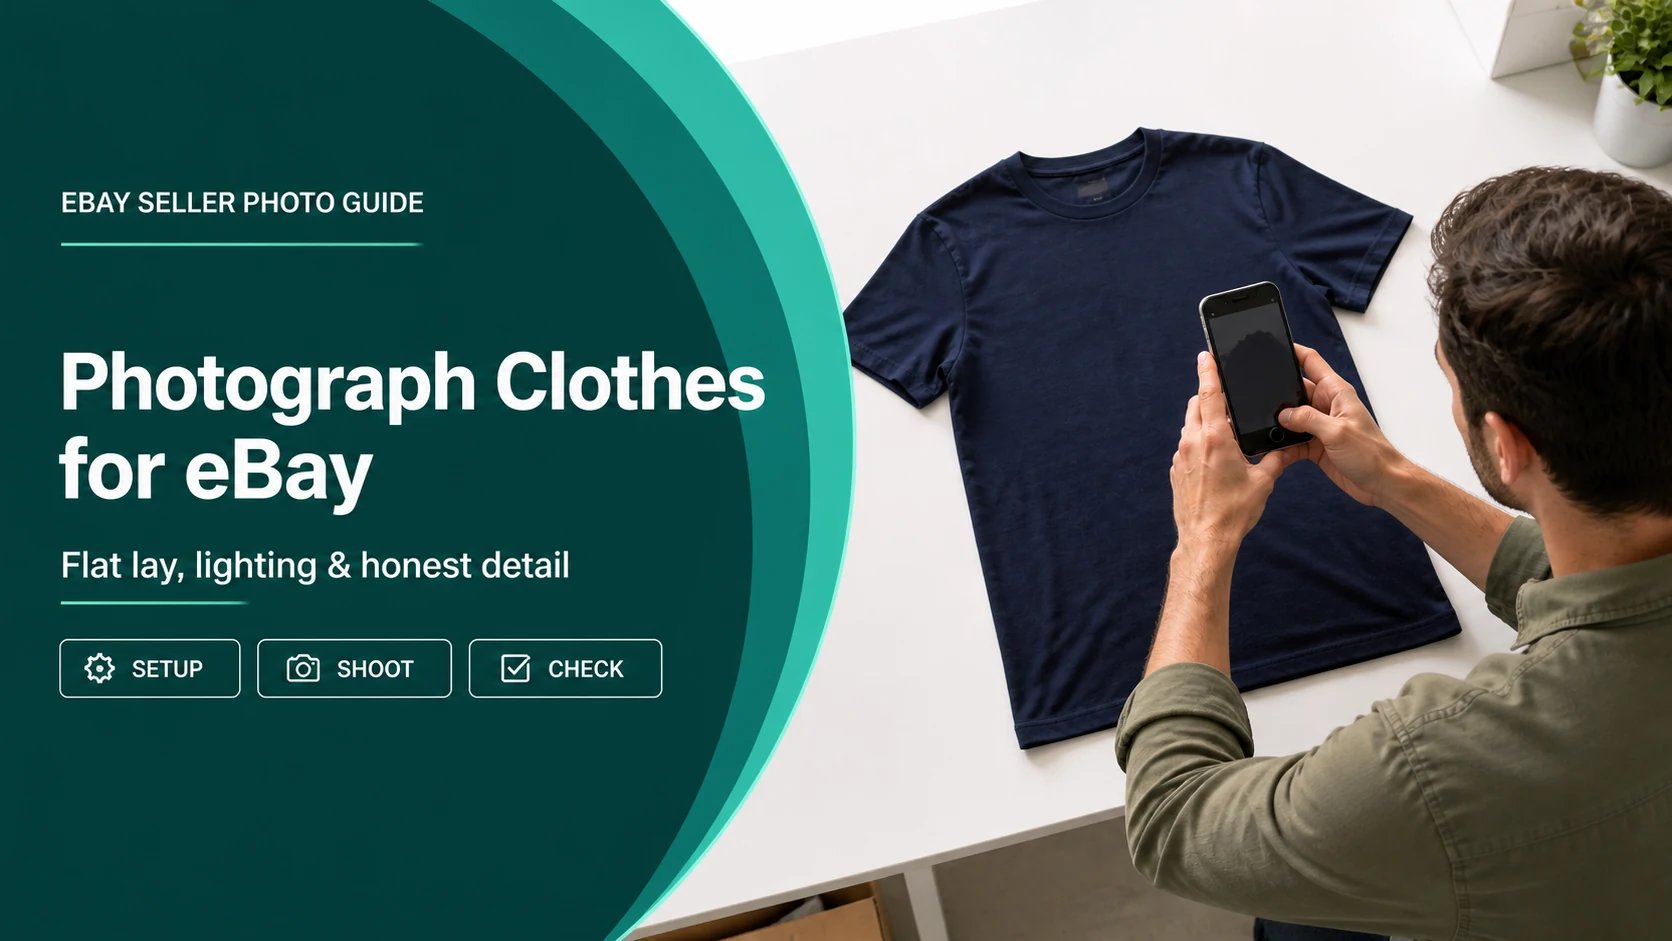
To photograph clothes for eBay, start with a flat lay or supportive hanger, use soft light on a plain background, keep the phone square to the garment, and follow the same shot order for every item. Photograph the front, back, labels, construction details, measurements and every visible flaw. Before storing the garment, enlarge the images and confirm that the color, shape and condition still match what is in front of you.
A navy T-shirt can look black in one shot and washed-out blue in the next. A close-up can show a loose thread without showing where it is. Those are capture problems worth fixing before you write the listing. This guide gives eBay clothing sellers a phone-friendly setup, a nine-photo sequence and a practical reshoot test without requiring a full studio.
How to photograph clothes for eBay: flat lay or hanger?
Use a flat lay when the garment needs stable shaping or measurements. It is a practical starting point for T-shirts, knitwear, trousers and other pieces that can stretch or sag on a hanger. Choose a clean surface or seamless backdrop large enough to show every edge. Let the fabric settle naturally; do not pull the sides tight to make the garment look slimmer.
Use a hanger when the garment hangs naturally and floor or table space is limited. Dresses, blouses and structured jackets are often easier to frame this way. Choose a hanger that supports the shoulders without forcing them apart, and photograph from the garment’s center height instead of angling the phone upward. If hanging stretches a knit, distorts the neckline or folds the hem, use a flat lay for the main view.
| Method | Works well for | Check before shooting |
|---|---|---|
| Flat lay | T-shirts, knitwear, trousers and measurement photos | Sleeves, seams and hems lie naturally without being stretched. |
| Hanger | Dresses, blouses and structured jackets | The hanger does not widen the shoulders or distort the neckline. |
| Mannequin | Garments where drape and structure help buyers understand the cut | Hidden clips or padding do not imply a fit the garment does not have. |
Build a simple clothing photo setup
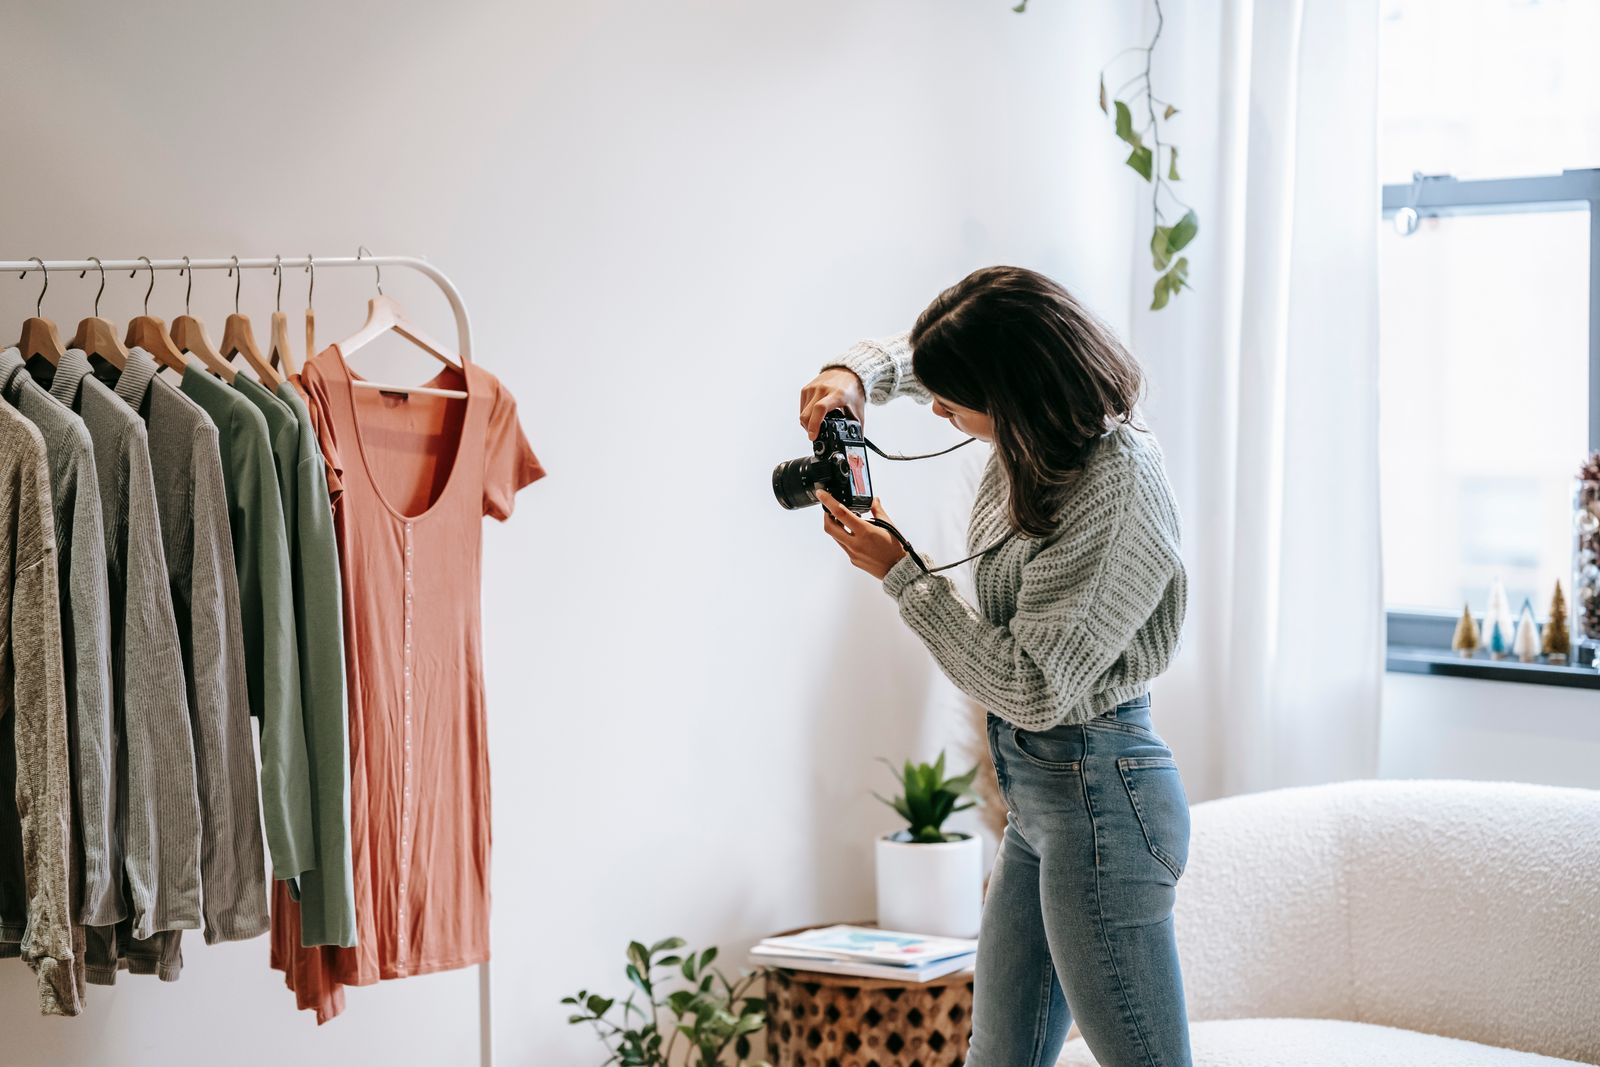
You can make a repeatable setup with equipment you may already own. The goal is not to imitate a commercial studio. It is to remove variables so the front, back and detail photos look like the same garment.
- Phone: use the rear camera and clean the lens before the first item.
- Stable support: use a tripod, overhead arm or secure stand. Do not balance on furniture to get a flat-lay angle.
- Background: use a matte, solid-colored surface that contrasts with the garment. A pale background helps define dark clothing; a darker neutral surface can keep pale sleeves from disappearing.
- Garment tools: keep a lint roller, suitable hanger, measuring tape and care-safe steamer or iron nearby.
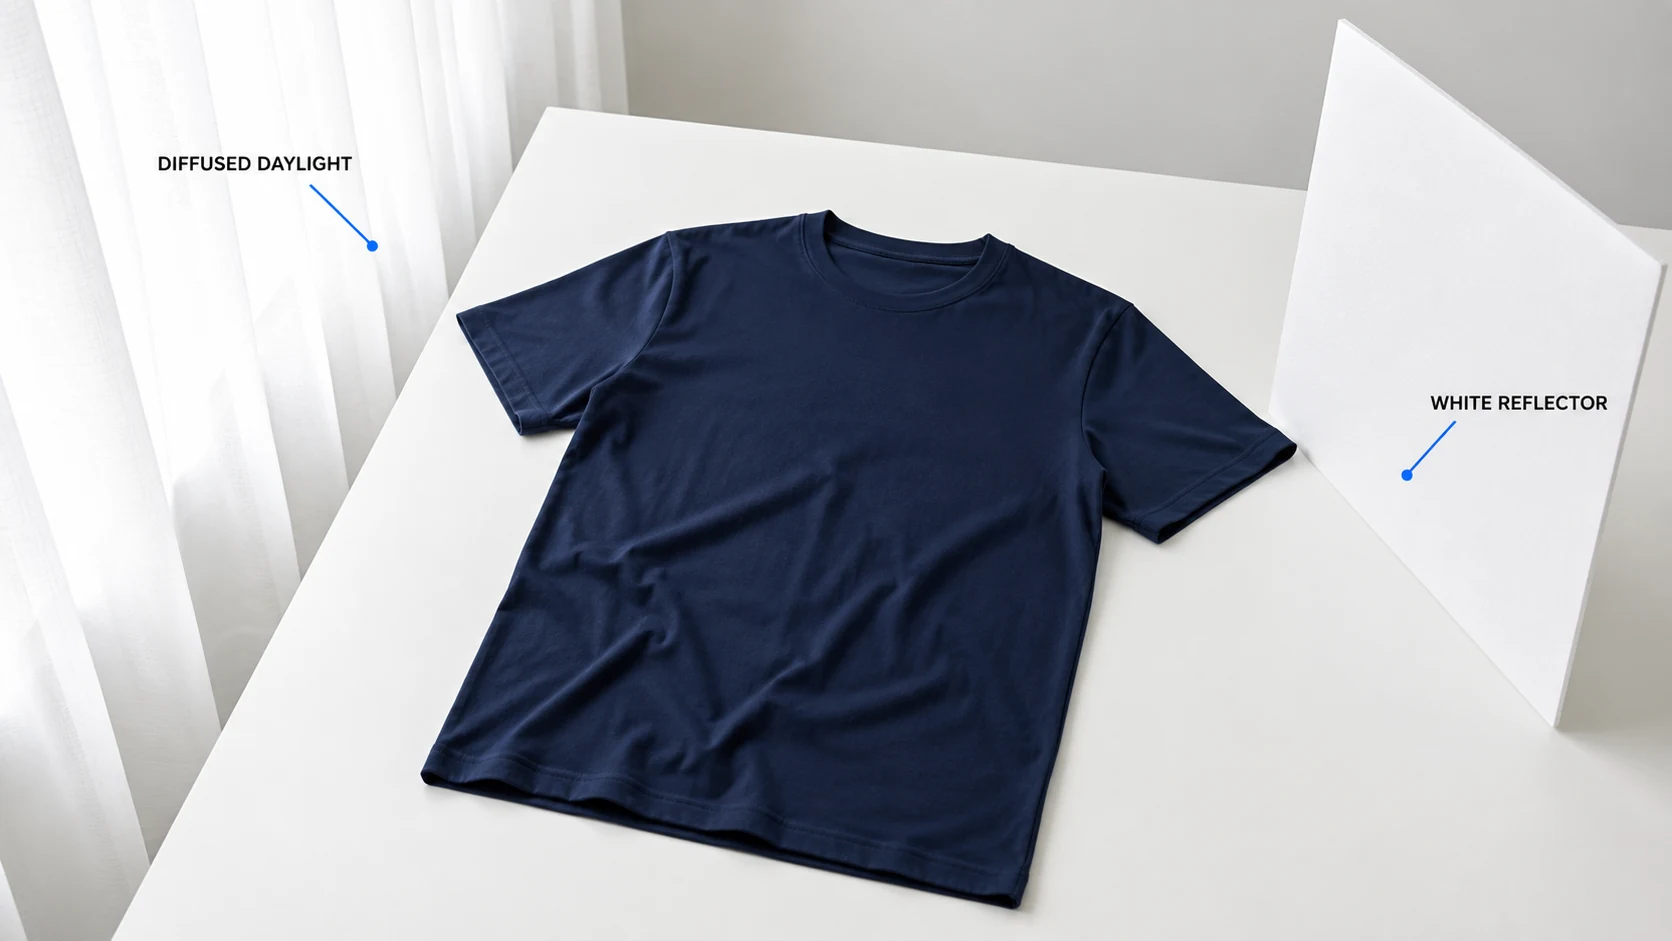
- Light control: start with indirect window light and a white foam board as a reflector. If daylight changes too quickly, two matching soft lights are easier to repeat than mixed household lamps.
Set the light and background once
- Prepare the garment. Remove loose lint and distracting hangtags that are not part of the sale. Follow the care label if you steam or iron. Leave permanent wear, repairs and marks visible.
- Separate the edges from the background. Use contrast rather than drawing an artificial outline around sleeves or hems.
- Soften the light. A sheer curtain can diffuse direct sun. Turn off a warm lamp if it gives one side a different color cast.
- Keep the camera parallel. Point the phone straight down for a flat lay or face a hanging garment straight on. Move back instead of using an extreme wide-angle view close to the fabric.
- Take one test photo. Enlarge the collar, stitching and darkest area. Compare the screen with the actual garment before shooting the rest.
Use phone settings that reduce distortion
- Use the main 1x lens when space allows; avoid the ultra-wide lens and digital zoom.
- Turn off Portrait mode because artificial blur can erase lace, fringe, straps or garment edges.
- Tap the garment to focus, then lock focus and exposure if your phone supports it.
- Adjust exposure cautiously. Dark fabric should retain texture without being changed into a lighter shade.
- Avoid mixing daylight with warm overhead bulbs. If a camera app offers manual white balance, keep one setting for the complete garment.
- Check automatic HDR or Night mode when it changes highlights, shadows or color between shots.
Editing cannot recover detail that was never captured. Minor cropping, rotation or a small brightness correction can be useful, but compare every edit with the original garment. If each image needs a different heavy correction, reset the light and reshoot the set.
Follow a nine-photo clothing shot list
Use the same order for each garment so missing evidence is obvious before the item goes into storage. A plain tee may not need every optional detail, while a lined jacket or embellished dress may need additional views.
- Full front: show the entire garment face-on with every edge visible.
- Full back: use the same distance, background and lighting as the front.
- Brand and size label: make the printed text readable. A label records what is present; it does not authenticate the item.
- Care and material label: show fiber content and care information when readable.
- Construction detail: photograph the collar, cuffs, closures, embroidery, lining, pockets or hem that matters for that garment.
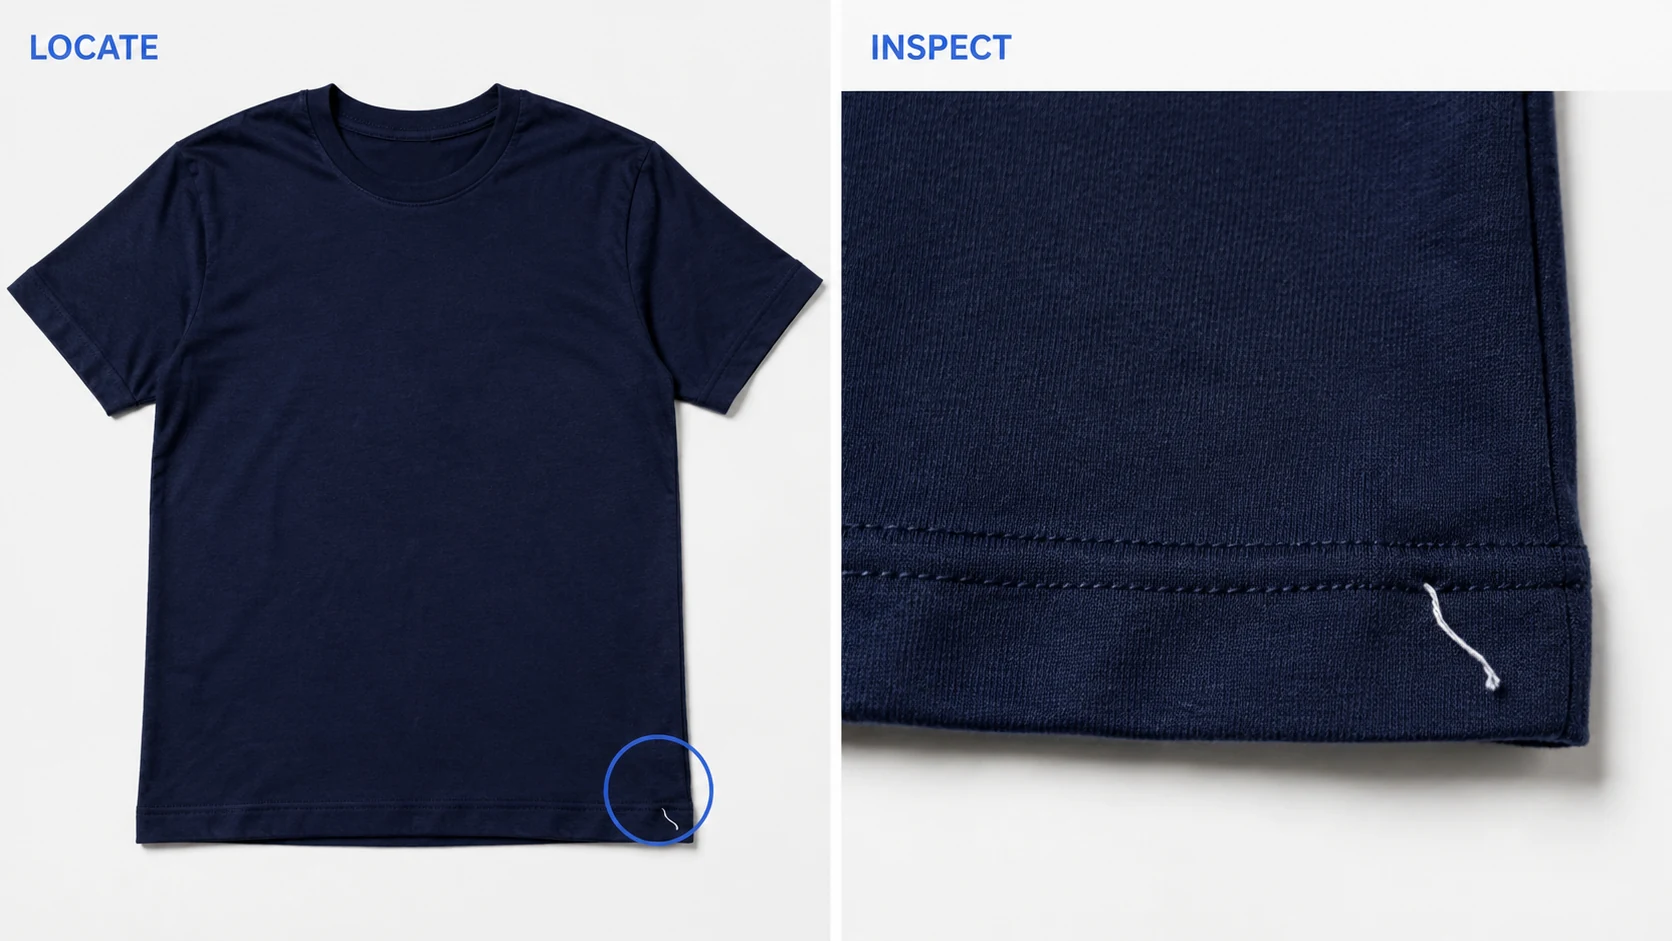
- Flaw location: use a wider view so a buyer can identify the correct sleeve, seam or panel.
- Flaw close-up: show the stain, pilling, loose thread, missing button, repair or other damage clearly.
- Measurements: lay the garment flat and unstretched, keep the tape straight, and show both endpoints and the garment edge.
- One category-specific view: add an inside pocket, zipper, lining, trouser rise, dress waist, knit texture or another detail that answers a likely buyer question.
When practical, record measurements in both inches and centimeters for international buyers. Explain the measurement in the description: a flat chest width is not a body measurement or a promise of fit.
Keep one garment’s photos together until you have checked them. Two similar navy shirts can have different collar wear, labels or measurements. Reusing the better-looking close-up from another item defeats the purpose of documenting condition.
Use this reshoot checklist before storing the garment
This is an editorial capture checklist, not an eBay scoring system. Start with the visible problem and fix it at the camera when possible.
| What you see | What to change | Keep the new photo when… |
|---|---|---|
| Dark fabric looks like a solid black shape | Soften the light and bring the reflector closer; adjust exposure cautiously. | Texture is visible and the shade still matches the garment. |
| A pale sleeve disappears into the backdrop | Use a darker neutral background instead of drawing an artificial outline. | The full sleeve edge is clear without altering its shape. |
| One shoulder looks much larger than the other | Check the garment’s natural layout, then center and level the phone. | The image reflects the real shape, including genuine asymmetry. |
| The tape is readable, but its starting point is cropped out | Retake the measurement view with both endpoints and the garment edge visible. | A buyer can see how the stated measurement was taken. |
| A flaw close-up has no recognizable location | Add a wider context view before the close-up. | Both images clearly refer to the same area of the same item. |
| Front and back appear to be different colors | Remove mixed lighting and retake under the same setup. | Any remaining difference is real fading or wear explained in the description. |
Blurred labels, hidden flaws and distorted proportions need another photograph. Keep the originals until the listing is complete so you can compare edits and confirm that every detail belongs to the same item.
Separate teaching graphics from eBay listing photos
Required: eBay’s picture policy prohibits inaccurate representations, stock photos for used items, added borders, added text or artwork, and watermarks. Photograph the actual pre-owned garment. Do not upload this article’s teaching illustrations or stock photos as evidence of your inventory.
Current platform guidance: eBay’s photo help page says a listing needs at least one picture and currently allows up to 24. It lists a 500 x 500-pixel minimum and recommends images around 1600 x 1600 when practical. The main photo should show the whole item face-on; additional photos should answer another buyer question or show an imperfection.
Clothing-specific recommendation: eBay’s clothing-selling guidance recommends solid backgrounds with contrast, multiple useful angles, readable labels and relevant measurements. White is not a universal clothing requirement: a darker neutral background can make pale garments easier to inspect.
Turn the approved photos into a reviewable listing draft
Once the photo set is accurate, the Maxmerce eBay AI Listing Tool can use product photos and details to prepare a draft title, description, category and item specifics. Supply measurements and condition details you have verified yourself, then check every generated field against the garment. AI cannot physically measure the fabric, authenticate a label or establish damage that the photos do not show.
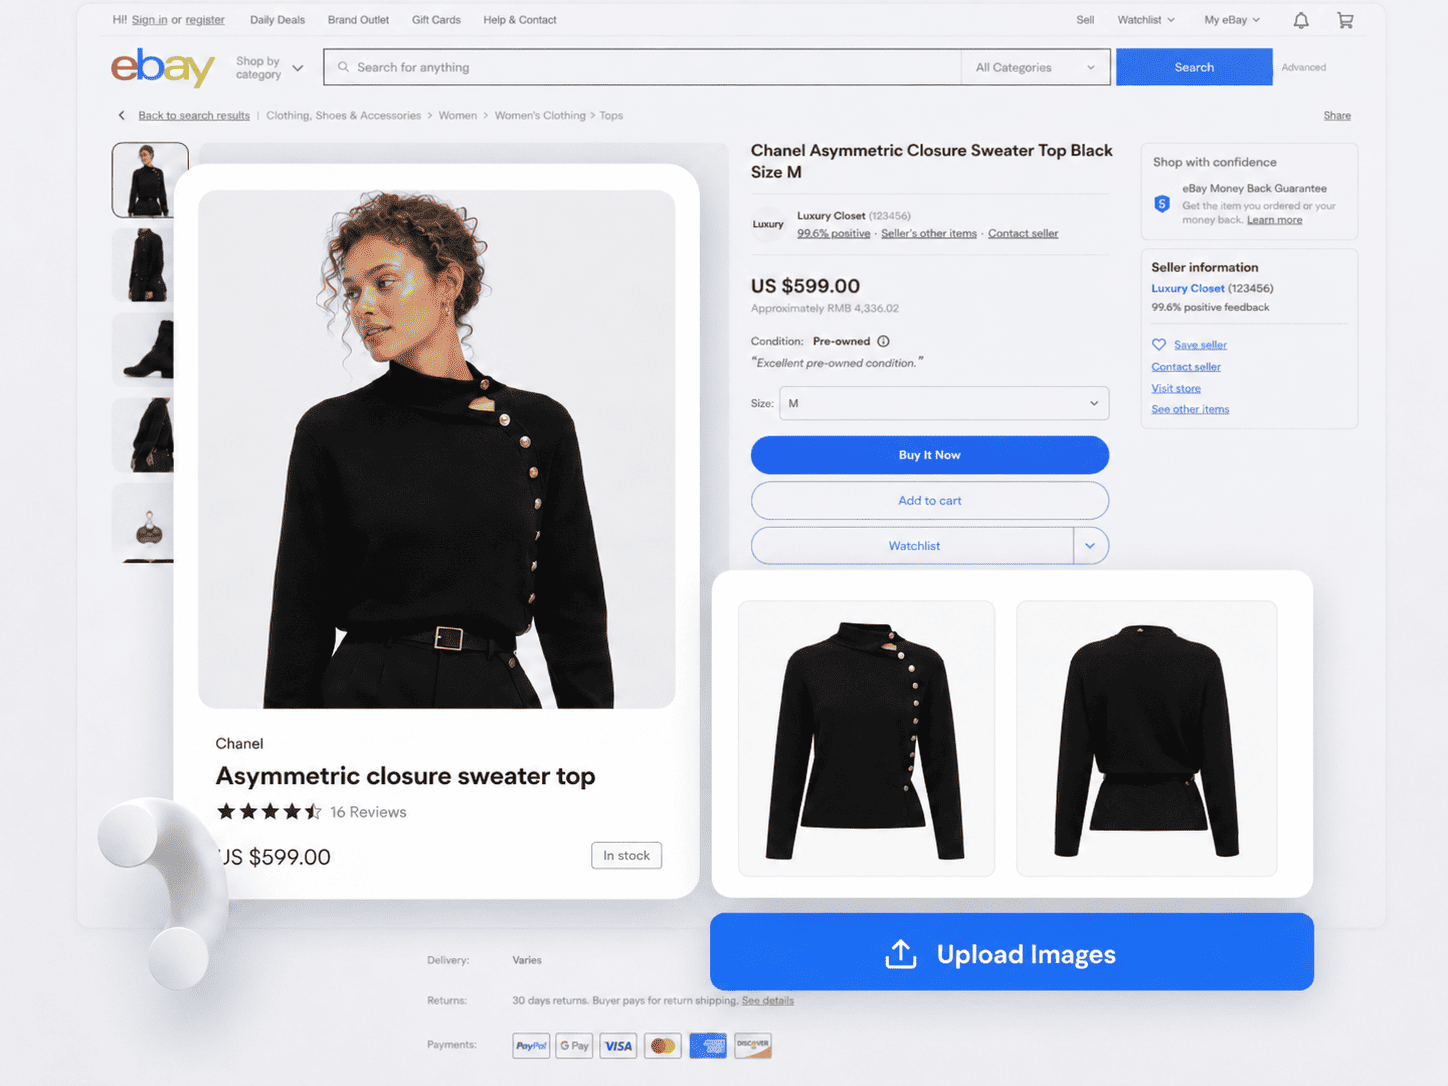
For a small team, agree on the shot order and acceptance check before photographing a batch. One person can then review the same evidence another person captured without guessing which detail belongs to which garment. The broader Maxmerce eBay listing tools page explains how listing work fits into the rest of the eBay workflow.

Frequently asked questions
Is a flat lay or hanger better for eBay clothing photos?
A flat lay is usually better for T-shirts, knitwear, trousers and measurement photos because the garment stays stable. A hanger can work well for dresses, blouses and structured jackets if it does not stretch the shoulders, neckline or fabric.
How do I photograph black clothes without losing fabric detail?
Use soft side light, place a white reflector opposite the light source and increase exposure only enough to reveal texture. Compare the screen with the garment. If black turns gray or navy changes shade, correct the light rather than forcing the color in editing.
Should measurements appear in the photos?
Measurement photos can help buyers understand how a number was taken. Keep the garment flat and unstretched, show both endpoints, and explain the measurement in the description. The tape photo should support the written measurement, not replace it.
Can I use a stock photo for used clothes on eBay?
No. eBay’s picture policy does not allow stock photos for used, damaged or defective items. Photograph the actual garment and its real condition. Stock and teaching images in this article are editorial examples only.
How many photos can I add to an eBay listing?
eBay’s current photo help page says sellers can add up to 24 pictures. Do not fill every slot with repeated angles. Use additional photos when they show condition, construction, measurements or another detail that helps a buyer evaluate the garment.
Prepared with AI assistance for human editorial review. The lighting and flaw visuals are AI-generated teaching illustrations; the Pexels images are editorial context photos and must not be reused as product evidence in an eBay listing. Maxmerce interface visuals illustrate the product workflow.